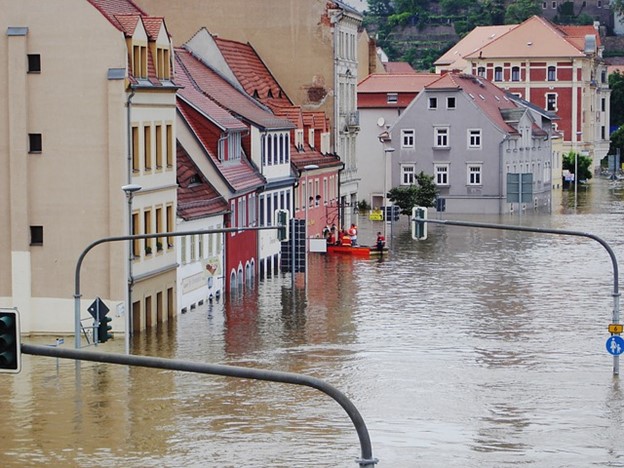
Post-flood home restoration is critical for the safety and soundness in the months after an incident. Actions taken or not taken during the first few hours after an event will have far-reaching consequences. The wrong steps will continue to cost homeowners in the years to come, warns Real Canadian Property Management Solutions. But they can minimize the impact of a disaster by taking the rights steps immediately. This article lays down the proper steps for restoring your home after flood and water damage.
Step #1: Stop the leak and collect evidence
Following home flooding, homeowners sometimes wonder if they should do something immediately or contact their insurance company before taking action. Initiating the claims process is essential, but the more pressing issue is to find the source of the leak and stop it. Doing this will minimize the extent of the damage. But not doing it could affect the homeowner's claims. And before going into a flooded home to find the source of a leak, be sure there are no submerged power outlets. After shutting off the water, take as many pictures of the scene as possible.
Step #2: Call a competent restoration company
Following that first step, should you call your insurance agent? Instead of contacting your insurer right away, it may be better to call a restoration company first. A restoration company like Paul Davis can conduct an initial investigation and give you a general repair cost estimate. They will also tell you if filing a claim is necessary or not. Sometimes, you will find that the cost estimate you get is actually lower than your deductible amount. And even better, this initial investigation and estimate process is free.
Step #3: Get the right experts

The post flood home restoration process involves many experts, depending on the severity of the damage. You often need a licensed electrical contractor (if the water level was as high as your electrical panels, outlets, and switches); an HVAC specialist (if the heating and cooling systems were affected); and a drywall and flooring expert. To make the process repairs, you should hire a restoration company that can manage all these vendors and serve as your single point of contact to all of them. When you work with Paul Davis, you get a team of vetted professionals and we oversee the whole of the restoration process to make it completely stress free for you.
Step #4: Inspection and damage assessment
The water restoration company is critical to the restoration process because they determine the extent of the damage and scope of the restoration. The company will inspect your home and categorize the damage. Using moisture detectors, they will know how much water has been absorbed by the home's structures and how much work it will take to dry them. They will also assess the water source to determine the water's level of contamination. Based on their findings, the company can give you an estimate of the duration and cost of the restoration.
Step #5: Water extraction
This is the first step in the actual restoration process, and it involves removing water that is still inside your home. The longer the home's structures and your possession are left to stand in the water, the worse the damage gets. Starting water removal as soon as possible is vital, and it is via an extraction process that uses high powered pumps and vacuums. These are, however, only designed to remove standing water from the home. In some cases, especially if there is floodwater, you may need a steam cleaner to remove traces of floor pollution.
Step #6: Drying and dehumidifying
After water extraction, the home may look dry, but surfaces will still feel wet. The next step is to remove the water that has been absorbed by walls, floor, and other materials. You can do this with industrial air movers and dehumidifiers. The fans help to circulate hot air around the wet walls, and dehumidifiers dry the moisture out of the air. In other to facilitate the drying process, you may have to walls may have to be stripped of their wallpaper. Drying the walls as soon as possible minimizes the risk of mold and mildew. If you do this process wrongly, it may lead to warping and breaking of walls, floors, and ceilings.
Step #7: Cleaning and disinfecting
Cleaning the home is a painstaking process that will require the use of various cleaning methods - dry or wet cleaning, spray or wipe cleaning, and immersion techniques - depending on the surfaces. This step will clean floors and walls, as well as your personal belongings. It may also involve mold remediation and removing potentially hazardous materials from the home. It usually includes air purification, which is necessary to remove air pollutants - mold spores, bacteria, and harmful gases - to ensure indoor air quality.
Step #8: Finish restoration
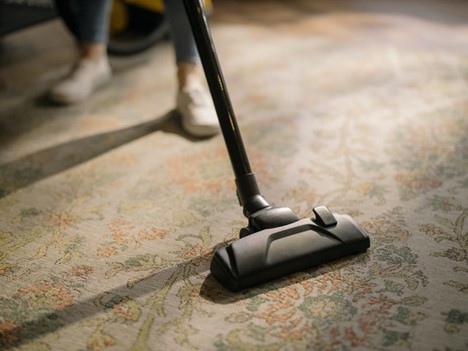
This is where you replace materials that were permanently damaged. At this point, the electrical and HVAC specialist, or wall and flooring experts, will be needed. The most common repairs in this step are carpet cleaning and drywall repair.